Clear & Brilliant Laser Is Exactly What Its Name Says It Is
I may be married to a dermatologist but that doesn’t mean my skin is problem-free. From sunbathing (Pre Dr. Z.) to two pregnancies, I have sun damage, enlarged pores, and pigmentation on my face. I have been able to improve it, but keeping my complexion clear has been a challenge. I’ve tried antioxidants, botanicals, and brightening serums, but nothing seems to give the types of improvements you get from lasers at the Dermatologist.
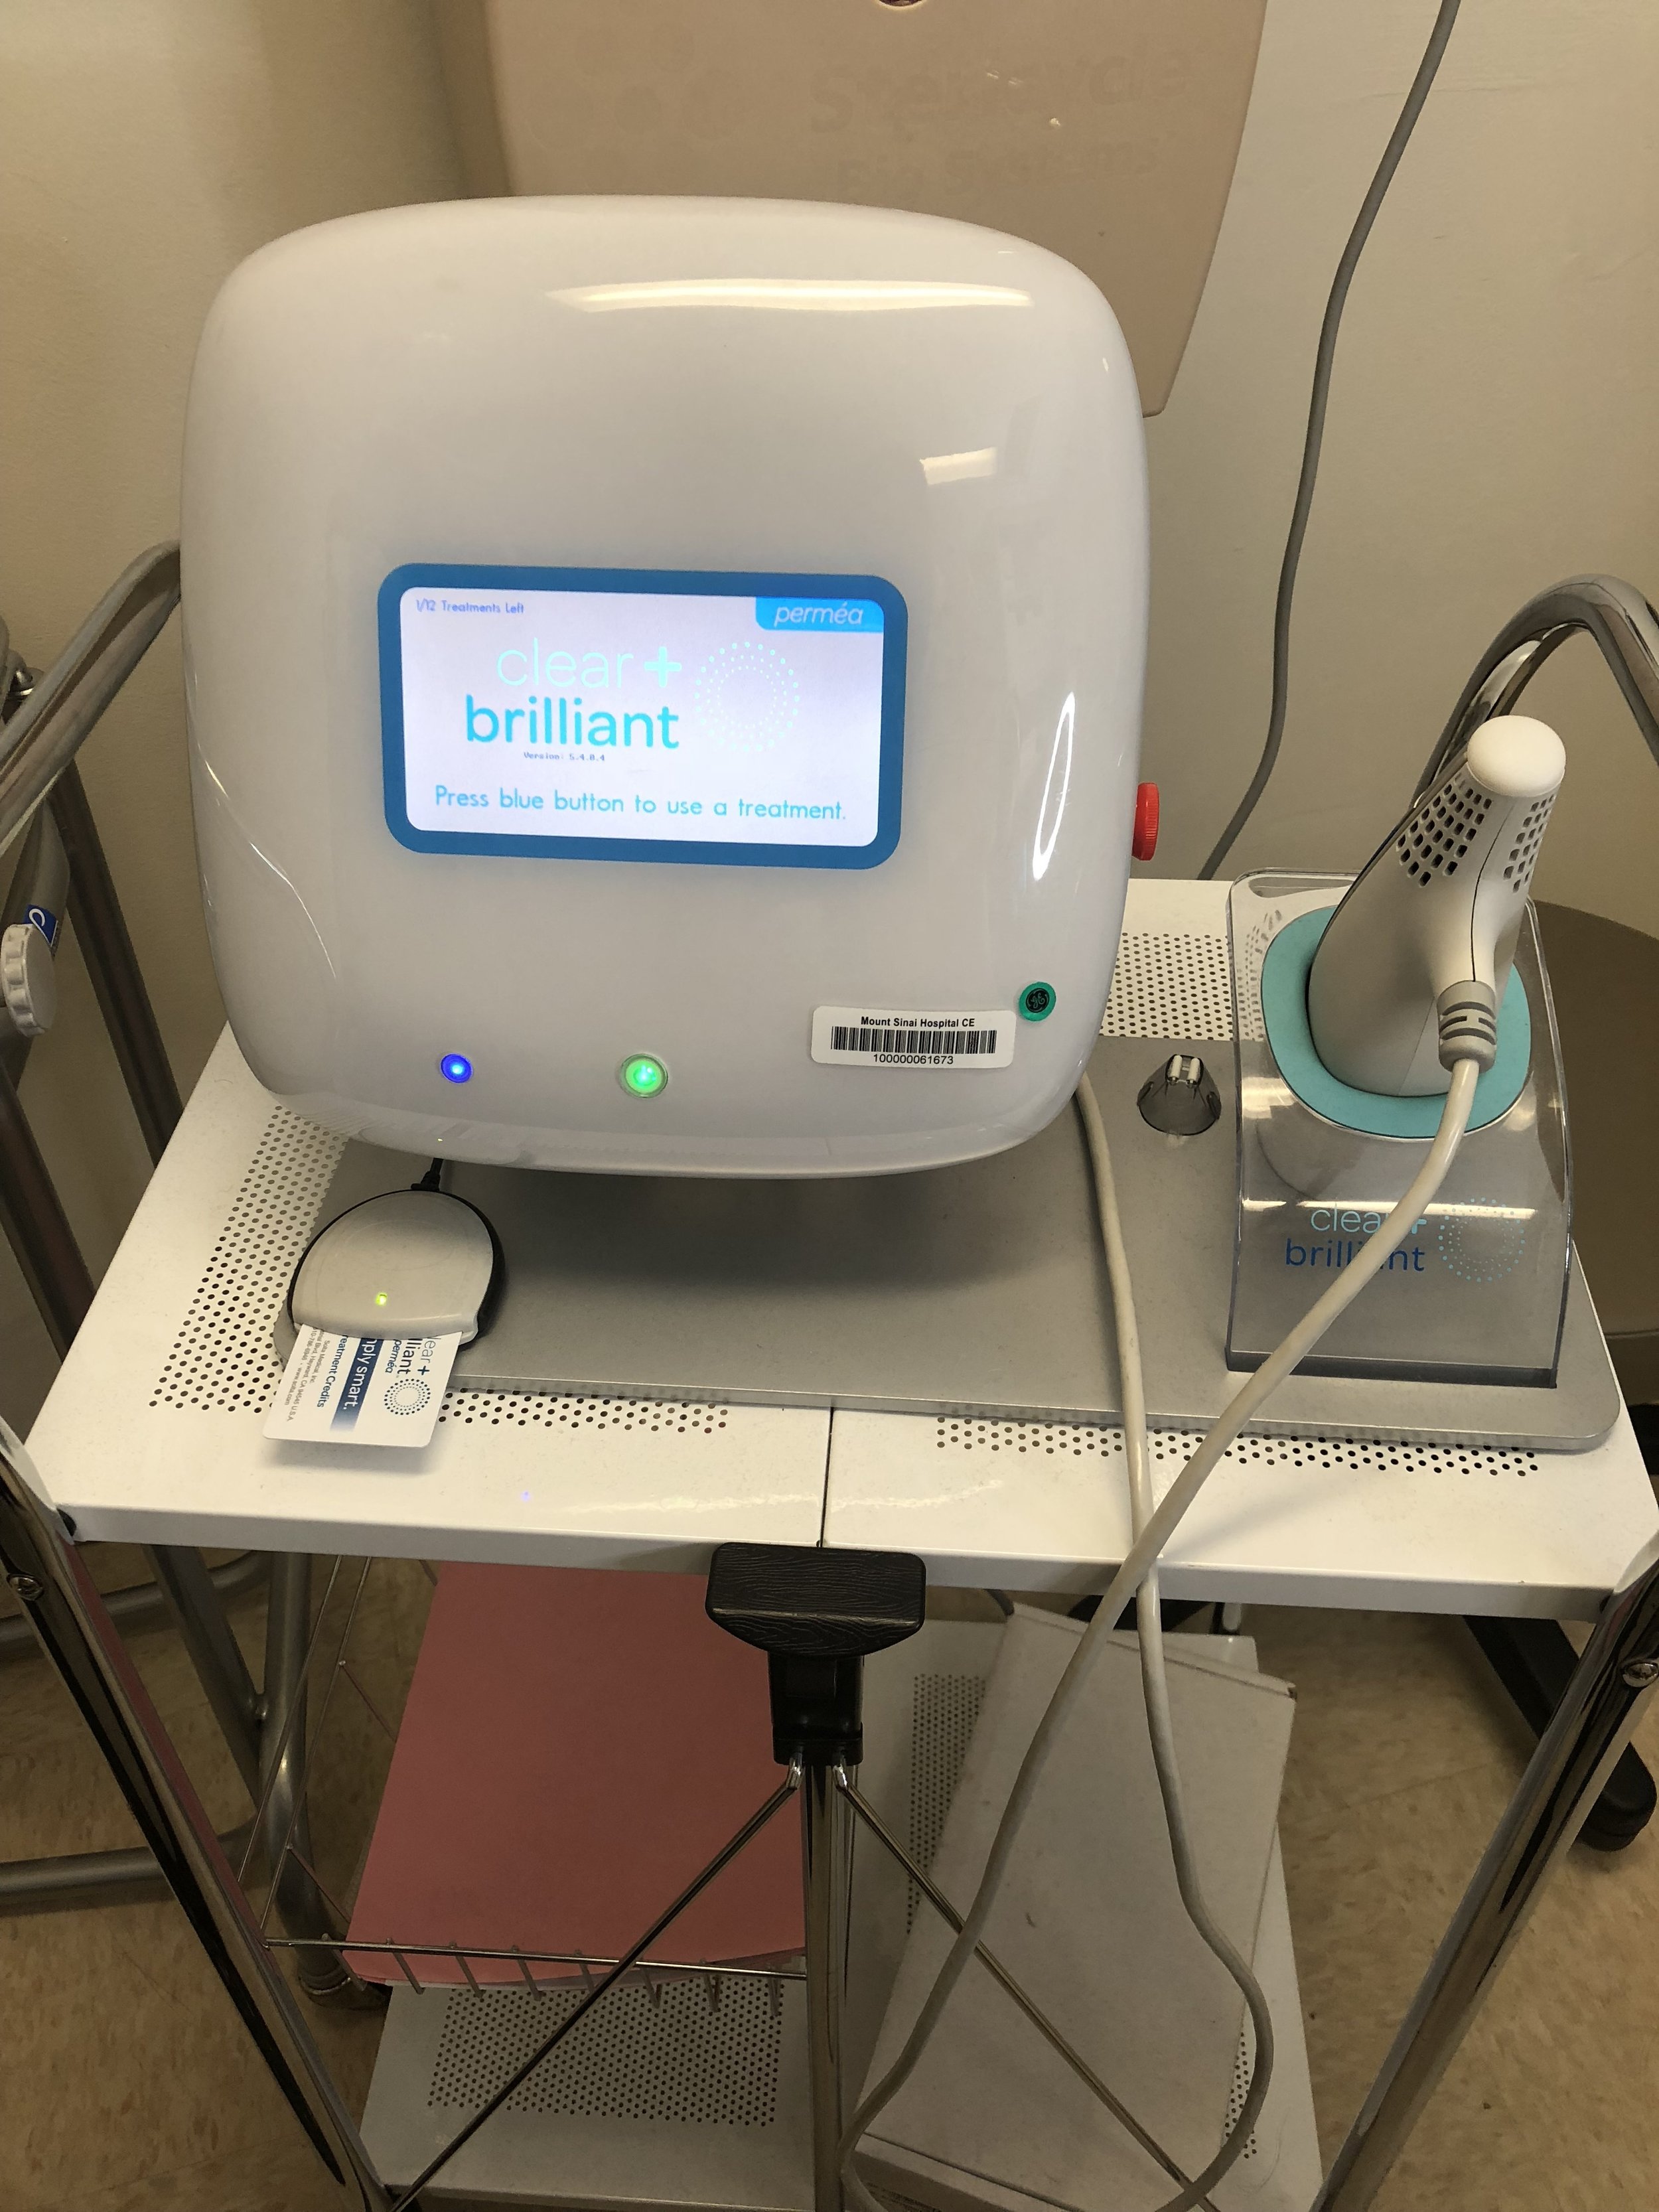
For my skin’s spring cleaning, I decided to go for a Clear and Brilliant treatment. It is a gentle resurfacing laser that works by creating millions of microscopic holes in your skin. That damaged skin is replaced with healthy, younger looking cells. It boosts collagen production to address fine lines, wrinkles, and pores, and helps your skin shed the dark spots. Dr. Z. recommended it for me because it has almost no downtime. I’ve have had resurfacing lasers in the past like Fraxel, which was great, but it meant about 5 days of swelling and looking like I had a bad sunburn. The Clear and Brilliant is like the Fraxel’s little sister, giving the same benefits to lesser degree, but you can go out to lunch later that day without anyone knowing you had anything done. With a busy schedule and lots of events at my kids’ school, I couldn’t looks like the night of the living dead right now. It takes a few treatments to get the types of improvements you get with one Fraxel, but not having to hide out for a few days made it the best decision for me right now.

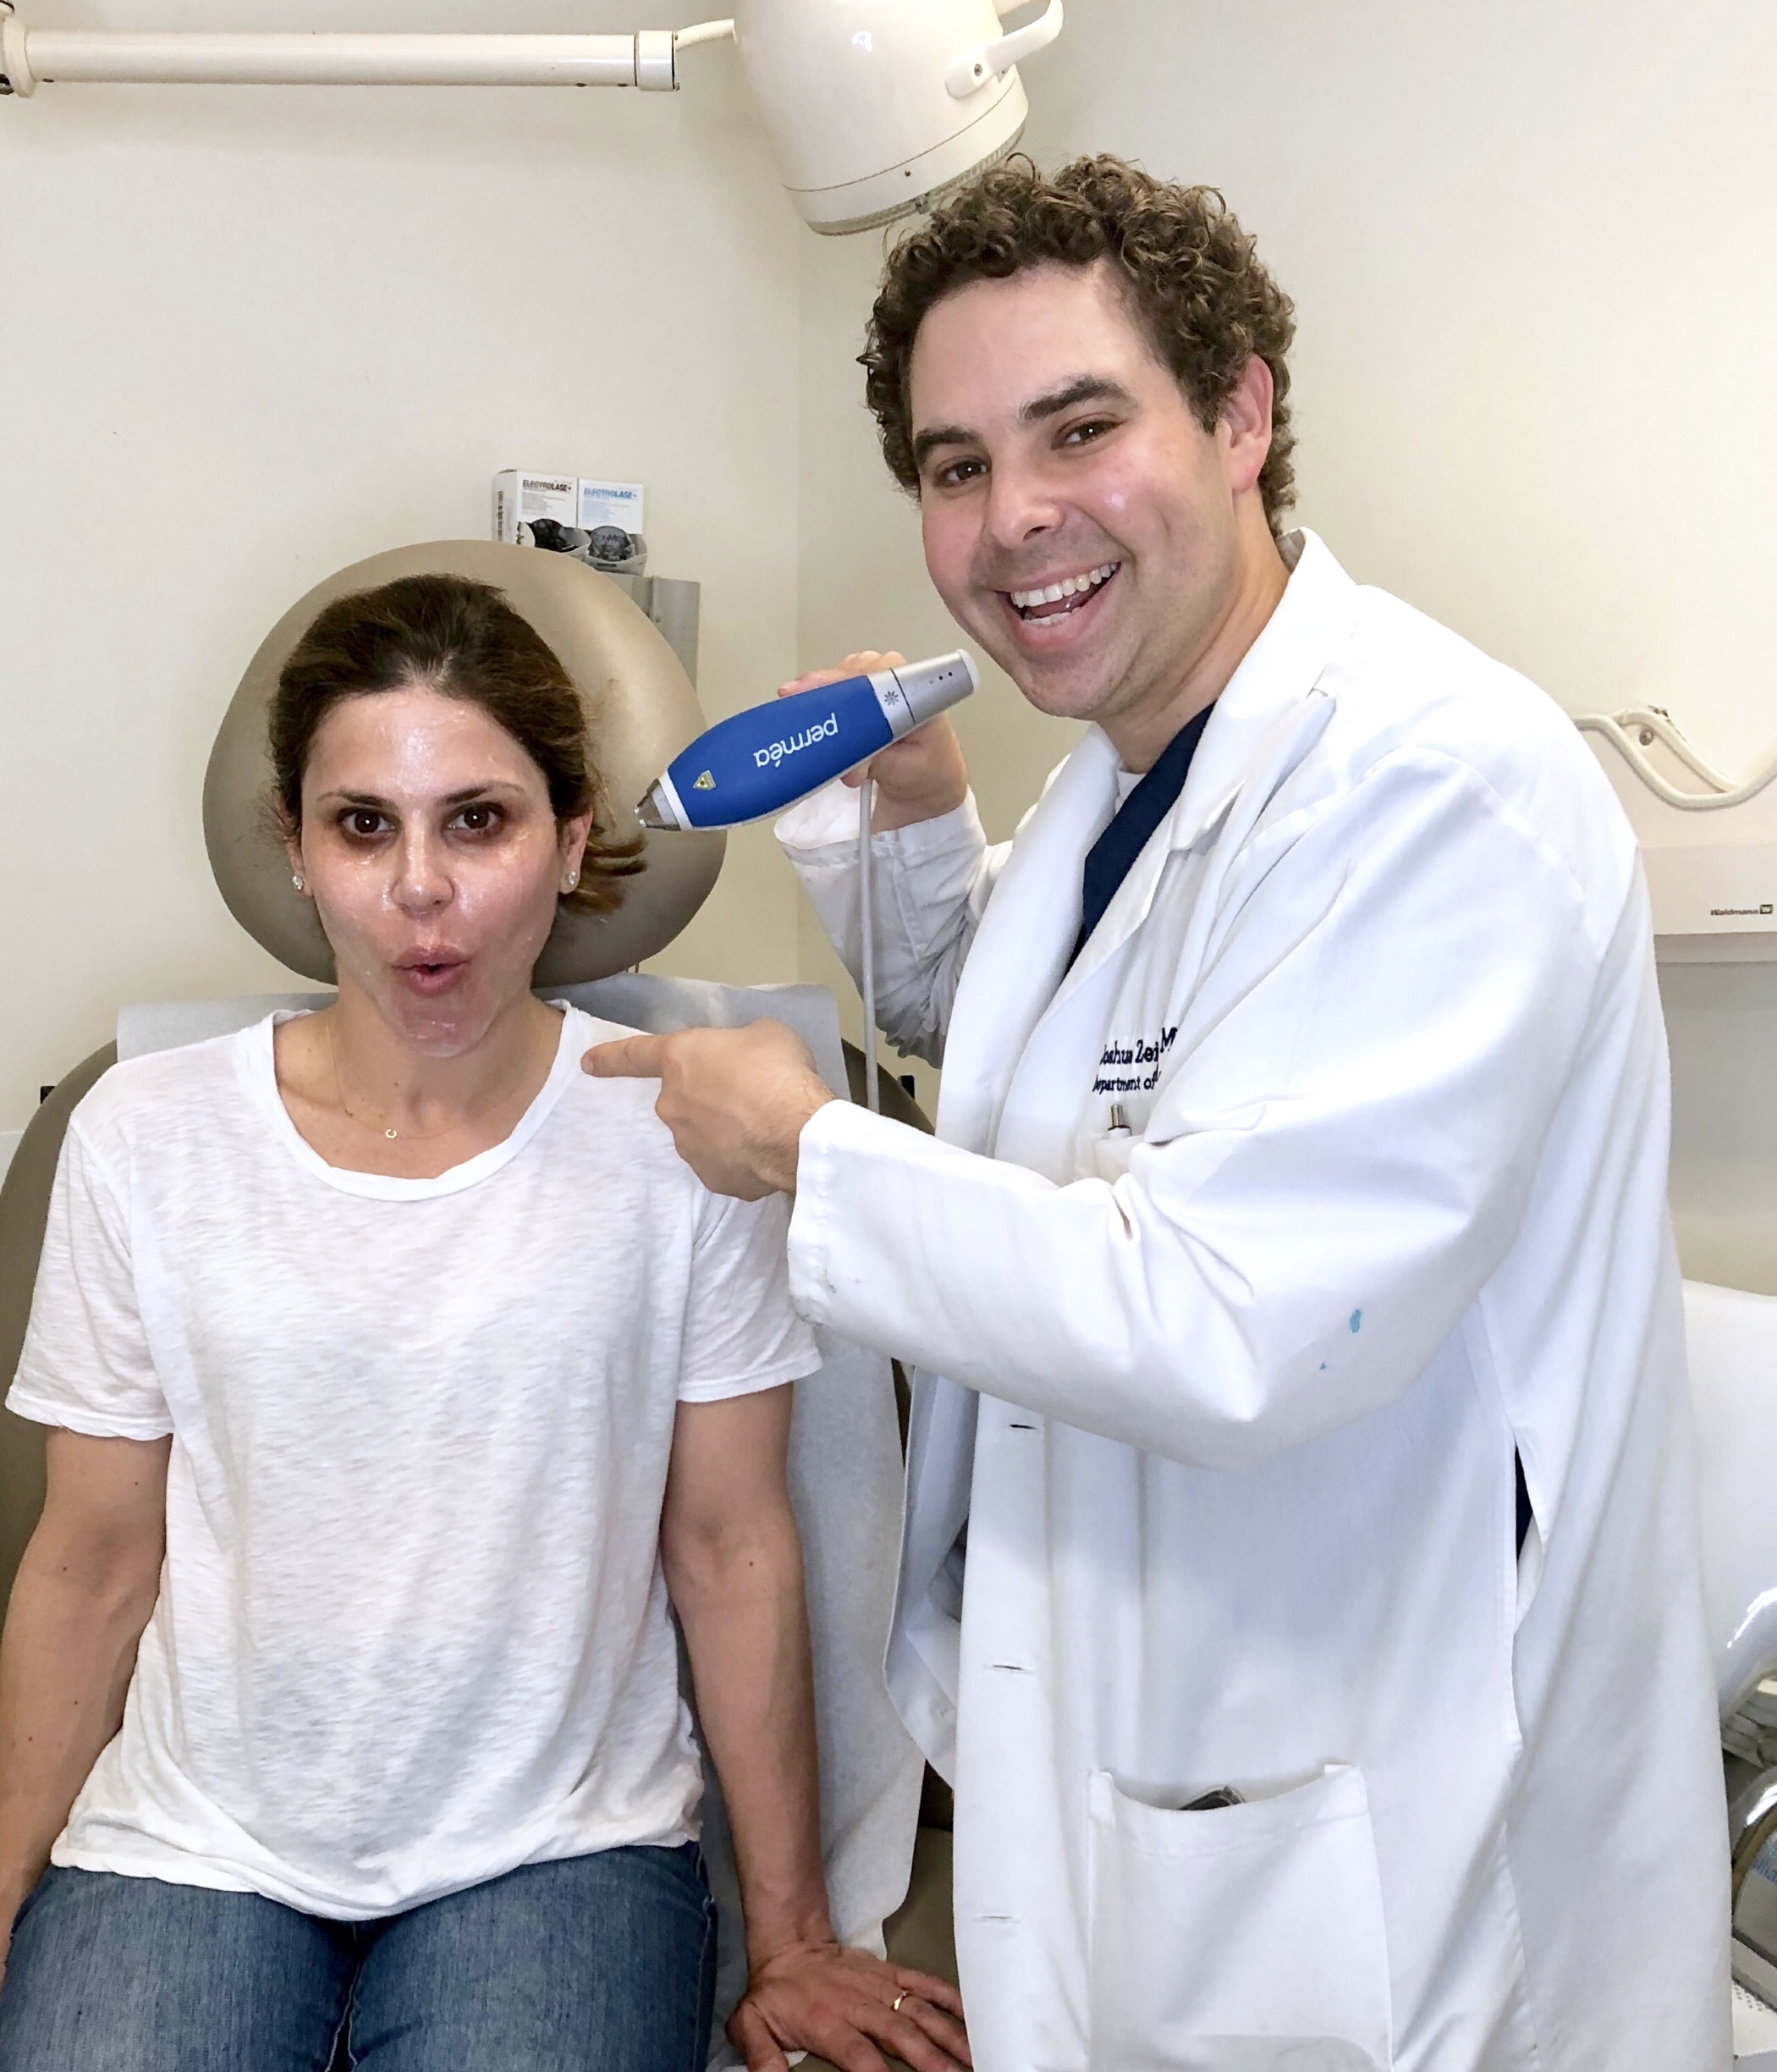
Playing Doctor
The day of the treatment:
I arrive at Dr. Z.’s office a half-hour before my treatment for numbing cream. It was greasy and felt tingly on the skin, but because of it I literally felt no discomfort during the treatment. It felt like he was running a loofah over my face. The one piece of advice I would give to you out there is not to get your hair blown out before getting a laser. He put the numbing cream into the hairline so he could laser all the skin, and the cream definitely messed up my hair a little. (A small price to pay for beauty, right?)

Numbing Selfie
The whole treatment took about 30 minutes. They cleaned the numbing cream off of my face, had me lie down, and covered my eyes with protective stickers. The laser hand piece has two rollers on it that allow it to move over the skin. I could feel it touching me, but literally had zero pain. After treating the whole face, he applied a vitamin C containing serum (Skinceuticals CE Ferulic). He said that the microscopic channels the laser creates helps the serum penetrate better. On top of the serum, he applied a post-procedure balm (La Roche Posay Cicaplast). Over the next week, I applied the serum and the balm at home.

Immediately after the laser, my face skin was flushed and a little bit swollen. Apparently, I got a more intense treatment then he gives to most people because he knew I could take it. The swelling started to go down in a half hour, and it was nothing that a hat and sunglasses couldn’t cover.

After the treatment:
On day 1, the swelling was gone, and I noticed that tiny, dark dots started to appear all over my face. From a distance, I just looked a tiny bit tan, but up close you could see millions of tiny tiny dots, like the art form pointalism. Dr. Z told me these would shed/wash off over the next few days. My skin felt a little tight and dry, and I continued to apply the Vitamin C serum and post-procedure balm. I put on a tinted moisturizer with sunscreen in the morning, and nobody had any idea I had anything done.

Left to Right: 3 hours later, Day 1, Day 2, Day 3
On day 2 and 3, my skin started to feel rough to the touch. The dots became darker and my face looked a bit more bronzed. When I washed my face the tiny black dots started to rub away.
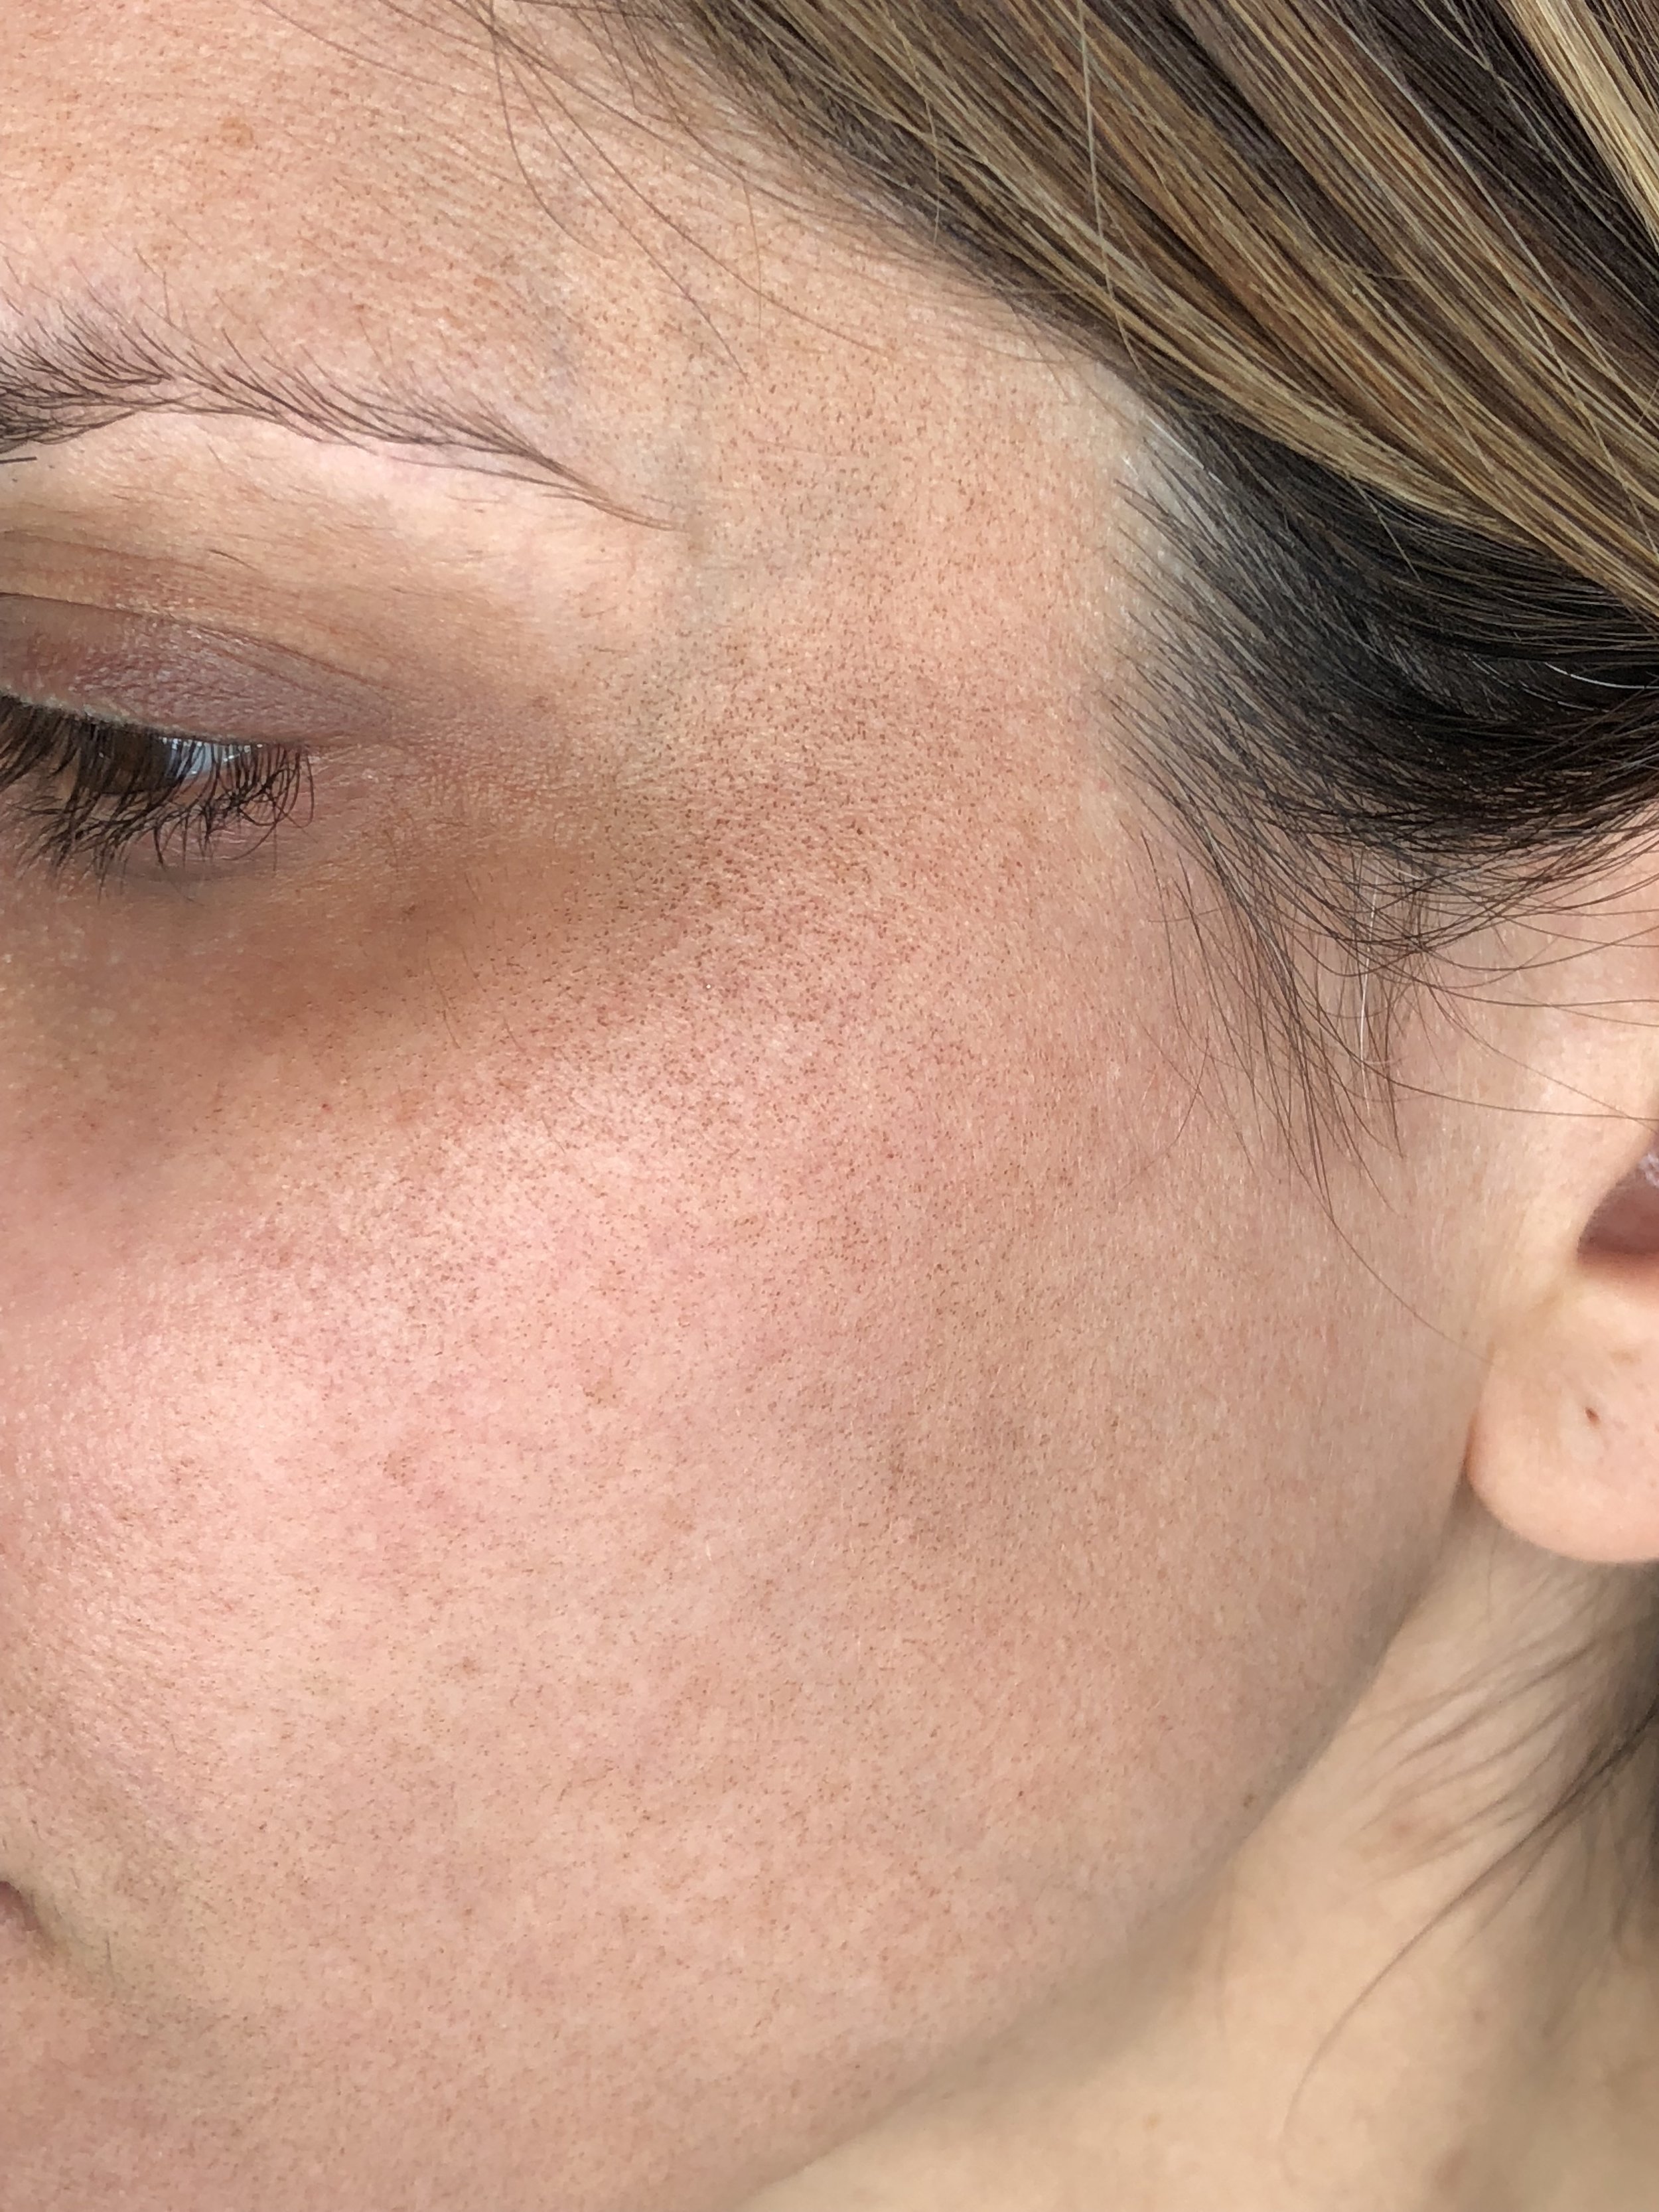
Up close you can see these tiny dark dots. But from a distance, my face just looked tan.
By day 5, my skin looked visibly clearer and brighter. It literally was glowing and looked more radiant than ever. The photos on here do not do the effects justice. (That’s probably because I was not so bad off to begin with. But I can tell you that my skin went from very good to great. It is not often that I can look in the mirror and think wow, my skin looks good.)

Before and After. I know it is hard to see because my skin started off pretty good, but overall the skin tone is more even, dark spots are lighter, and it looks more radiant overall.
The Clear and Brilliant laser was pain free, had barely any down time afterwards, and made my skin look fresh and glowing. So thatis why I say this treatment is #TheDermWifeApproved.

Immediately after the laser on my walk home - looking a little scary because I coated my face in the Cicaplast!